
Trekking Routes in Himachal Pradesh for Beginners
Trekking in Himachal Pradesh Himachal Pradesh is a very beautiful state in India with regard to mountains, forests, rivers and serene landscapes. This state…

Is Travel Insurance Mandatory for Europe? Complete Guide
Planning a Europe trip in 2026 is exciting.Europe continues to be among the favourite travel destinations of Indian expatriates because of its romance, favoured…

Top Visa-Free Countries for Indian Travelers in 2026
Visa Free Countries For Indian Passport There is greater travel freedom among Indian travellers than it has ever been in 2026. The Indian passport…

Government Museum and Art Gallery Chandigarh: A Journey Through History and Culture
One of the most valuable cultural sights of the city that is associated with Indian heritage, artistry, and history is the Government Museum and…

Top 10 Art Museums in Bangalore 2025
Bangalore, the so-called Silicon Valley of India, has a culture that is rich and technology-oriented oriented with a flourishing art scene. Coupled with the…

Dussehra 2025 in India – Date, Significance & Celebrations
Vijayadashami or Dussehra is one of the most auspicious festivals observed in India. It is the triumph of the good over the evil, and…

Top 10 Places to Visit in Jayanagar in 2025-2026
Jayanagar, among the most organised and energetic parts of Bengaluru, remains popular due to its blend of cultural heritage, shopping centres, parks, restaurants and…
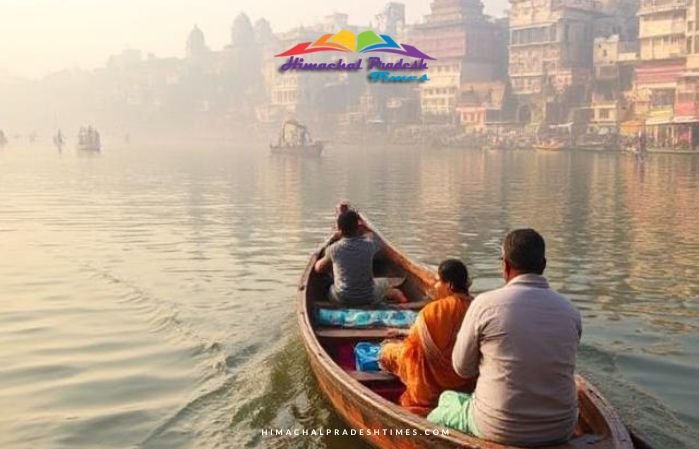
Varanasi Boat Ride – Cost, Price & Online Booking for a Magical Morning Experience
Varanasi, or Kashi, or Banaras, is the oldest city in the world to date. It is situated on the banks of the sacred Ganga…

Top 10 Tourist Places In Andaman and Nicobar Islands
The Andaman and Nicobar Islands boast stunning travel destinations in India. Jewel-blue waters surround these islands and are famous for their fine, white beaches,…
5 Tips To Download Fast Cash Loan App
Obtaining an immediate personal loan online can be the best solution in a medical or financial emergency. However, there are several reasons why an…

Step-by-Step Guide: Using SIP Return Calculator for Mutual Fund Investments
Your Smart Investment Companion Awaits Navigating the world of mutual fund investments can feel overwhelming, especially when trying to predict future returns. Enter the…
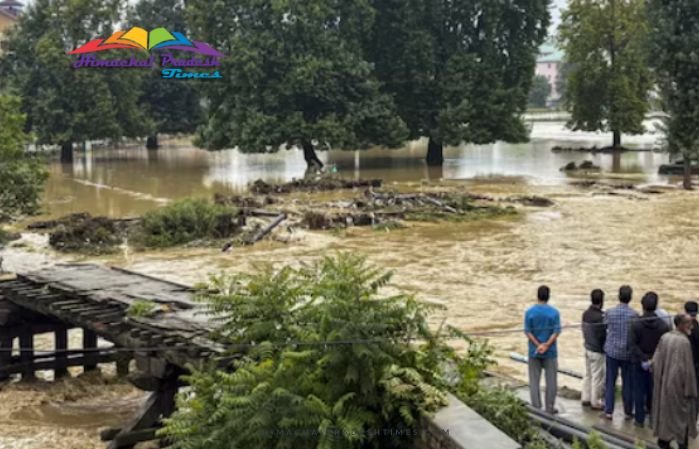
जम्मू-कश्मीर के रामबन में फटा बादल, 3 लोगों की मौत और 5 लापता
जम्मू-कश्मीर के रामबन जिले की राजगढ़ तहसील में बादल फटने की घटना में कम से कम तीन लोगों की मौत हो गई है, जबकि…

A Day in Bateshwar: Where History Whispers Through 100 Temples
Bateshwar is a peaceful village located about 80 kilometres from Agra, Uttar Pradesh. The village is famous for its old temples that line the…

Whole life Insurance: a Safe Bet for Senior Citizens
Securing your financial future seems to be the target of every concerned and conscious investor. Since uncertainty is the basic essence of life, it…